
 The Art of Preserve Making

As you know, my birthday was last Tuesday. Even though I am the oldest I've ever been (which is, incidentally, closer to 30 than I've ever been), I will milk this whole birthday thing for as long as possible. Get used to it!

For said birthday, I went home to Houston for some quality time with my family, and nothing says quality time with the fam quite like making strawberry preserves with my mom. Pretty much any and everything I learned about cooking and baking, I learned from my mom. Preserves are something she really got skilled on after I left for college, so it was fascinating to see what really goes into these little jars of fruity goodness I get each summer.
Let me say this: preserve making is hard and exact work, hence the cliched blog title. But it's true. Hey, did you know you can get botulism from improper canning techniques?? Yeah, cray cray, right? So, while I'm about to give you a run through of the recipe we used, I highly suggest getting yourself schooled on proper canning techniques if you intend to store your preserves for longer than a few days or give them away to others.
With the super serious life threatening drama outta the way (who knew preserve making was so action-packed?? Like a Michael Bay movie, only less terrible.), on to the fun part:

Fruit preserves are basically the result of cooking fruit, sugar, and pectin together. It's supes easy!! Start by picking a fruit. Which fruit did you pick? OMG that sounds amazeballs USA! Okay, so take that fruit (we used the lovely berries pictured above) and user either a potato masher or pastry cutter to finely chop, but not macerate, your fruit into small pieces. You want to do this one layer at a time (i.e., put a layer of berries in the bowl, mash them, then transfer those mashings to another bowl then mash another layer, and so on).

{Here's the wacky-doo masher my mom used.}


So the fruit should be small enough to eat in one bite, but not so small that it no longer looks like fruit. That makes sense, right? Right. Once you've got your fruit prepared, you can then combine the pectin (made from apples) with a little bit of sugar.

Once that's combined, dump it in with the fruit, the juice of a lemon, and 1/4 tsp. of butter and cook on high to a hard boil. (The butter helps decrease the amount of foam that will develop, and foam is a no-no. Once you remove the preserves from the burner, you'll skim off as much foam as possible. If you don't, the foam will harden and create gross, foamy, sticky deposits in your preserves. And don't nobody like gross, foamy, sticky deposits in their preserves, ya heard?)
But first, this is the ideal time to get yourself a beverage. Here's my mom mixing up her new favorite concoction: Coke Zero and Diet Dr. Pepper.
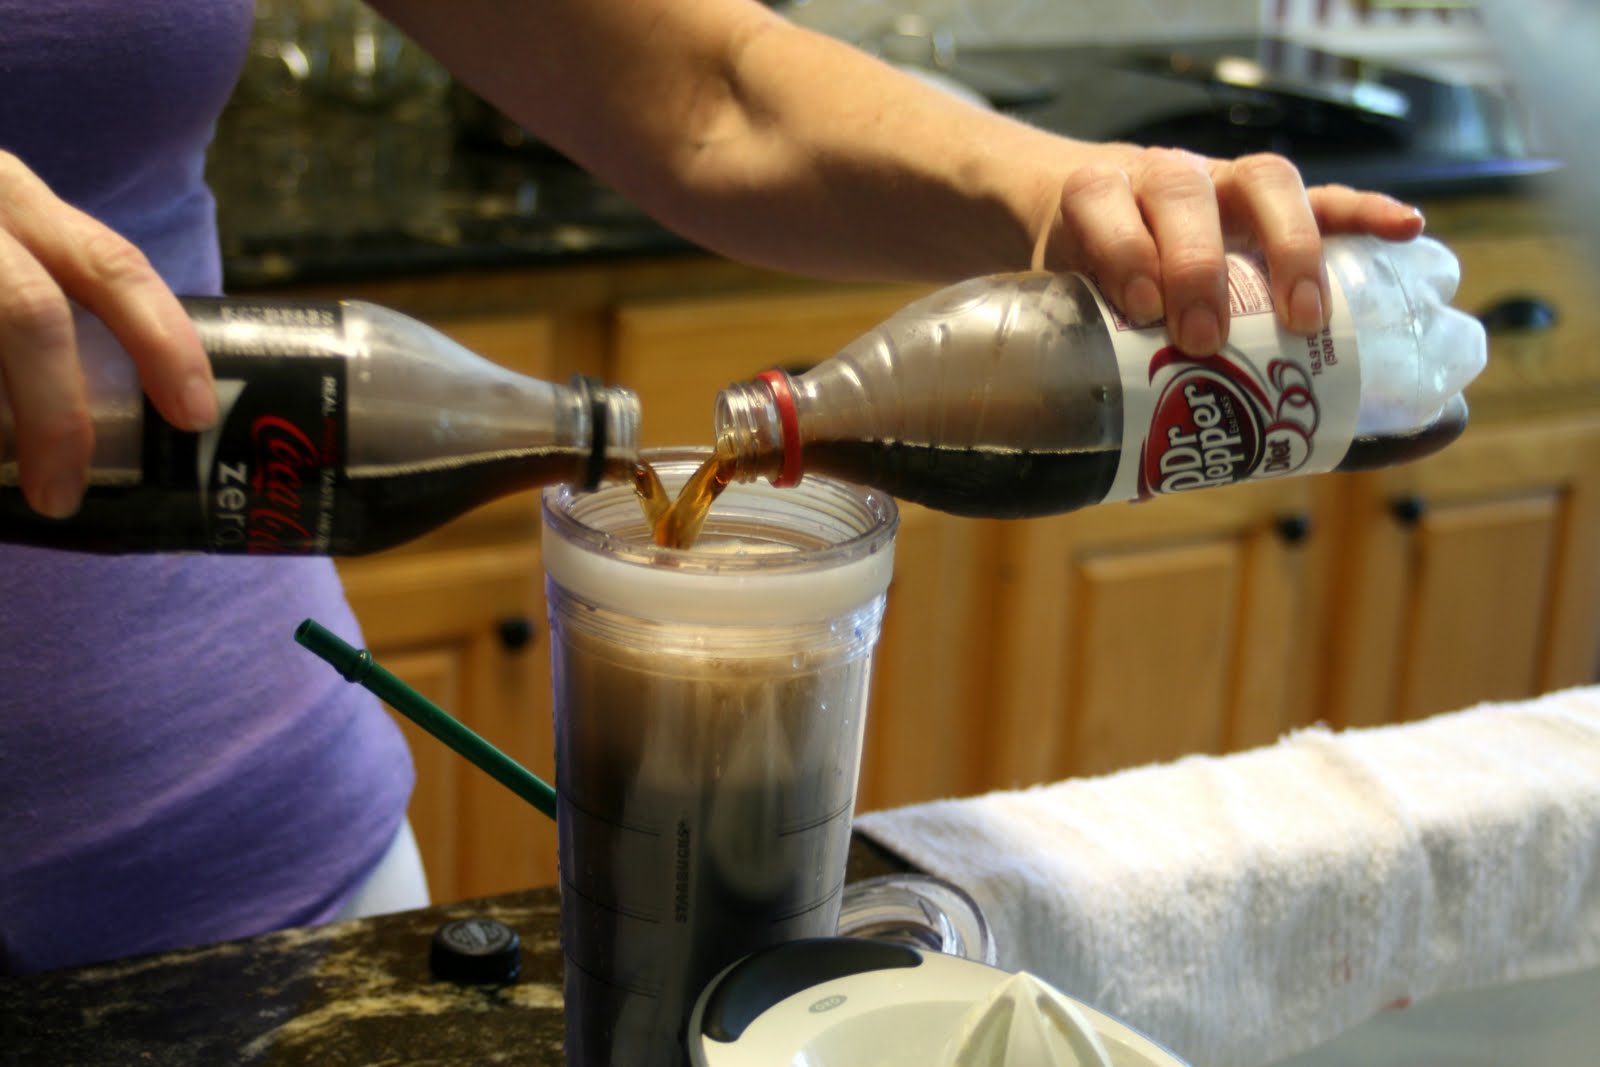
You can't have a carbonated bevvie without D.P. in Tejas! I know it's weird, but it's actually pretty tasty. Oh, and my mom wants y'all at home to know it is NOT the same if you use Diet Coke. It's gotta be Coke Zero. The end.
And now, back to the preserves.

Once the berries start to boil, now you can add the 7 CUPS OF WHITE SUGAR you've been saving!!!


Equally important to the whole preserve-making process is having a fun spoon for all the constant stirring you'll be doing. Might I suggest a smiley face one?
You boil the sugar and strawberries for 1 minute, then remove it from the heat, stirring constantly for another 5 minutes. Then after you skim the foam like I talked about before, you can officially pour your liquid gold into jars. Again, might I suggest jars from Germany? These are just gyorge:


It literally does taste as good as it looks.
From this point, you gotta know what you're doing with the whole canning thing like I said earlier, so as to avoid, ya know, dying, but I know you. You're a real go-getter. You totally got this!! Screw the lids on and put them in the boiling pot of water you've prepared. If you're a preserves/canning aficionado like my mom, you might have a pot just for this:


After 10 minutes in the boiler, they're ready to come out.

This funny grabby-what reminds me of Toy Story.

Then, you gotta wait for them to seal up and all that nonsense, but once they set, you can enjoy your preserves on a variety of things, like toast, crackers, ice cream, a leather shoe, or straight from the spoon. In fact, that's one of the best ways to enjoy them.
If you decide to try your hand at preserves, this is a good recipe that's almost exactly like my mom's. Also, if you decide to try your hand at preserves, SERIOUSLY do a little research on canning. And again, should you decide to try your hand at preserves, grab a buddy. It's a lot less work to do with two sets of hands. Oh, and one more thing about if you decide to try your hand at preserves...prepare to eat the whole jar within a day, because the homemade stuff is just.that.good.

3 comments:
heheh "the clawww" lol i love this post, i love how you've also included diy! it must have been very yummy :)
natalie
http://lucyandtherunaways.blogspot.com
This looks so delicious ! I wish I had the time to make my own jam... Thank's for this awesome DIY ! Check out : http://nothinlasts.blogspot.com/ I just posted a 5 things of the week :)
I love jam and this looks so good!
Post a Comment